21 December 2007

Shapely Tank by designer Joan McGowan-Michael

Easy stockinette sweater that fits (if you pay attention!)


White Lies Designs | Tank Top with Added Sleeves
free pattern, click to view (sleeve pattern is an additional free pattern, click to view)
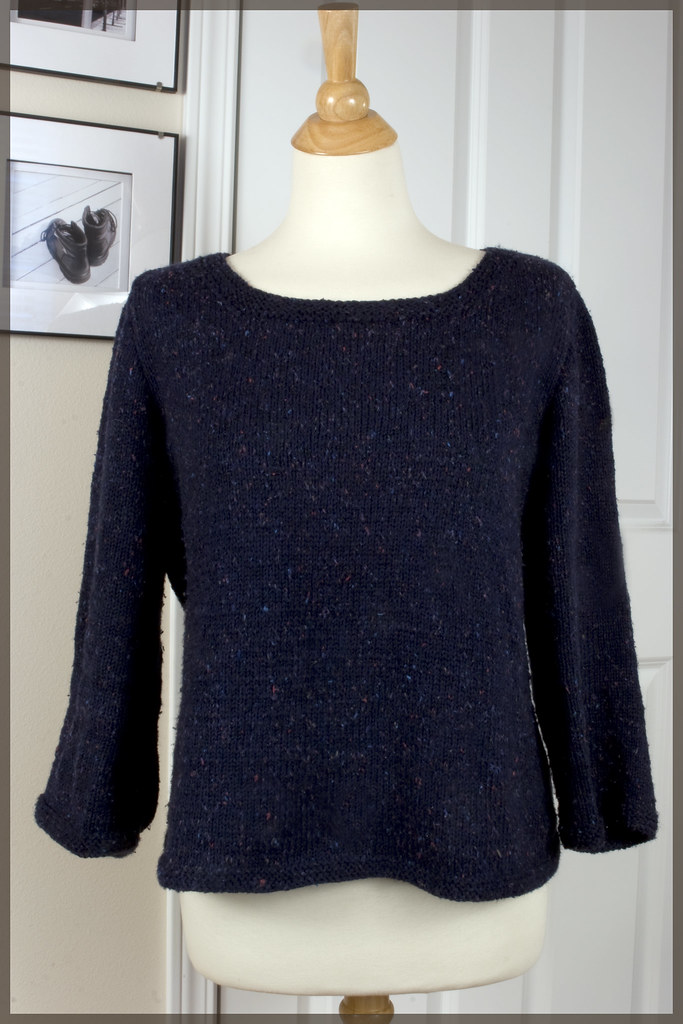
This was a project for me to try shaping at the waist and bust. I knit the front and back per the pattern and seamed the garment.

Modifications: Sleeves were knit 3/4 instead of the short sleeve per Joan's free tank sleeve download.

The sleeve is knit in the round.

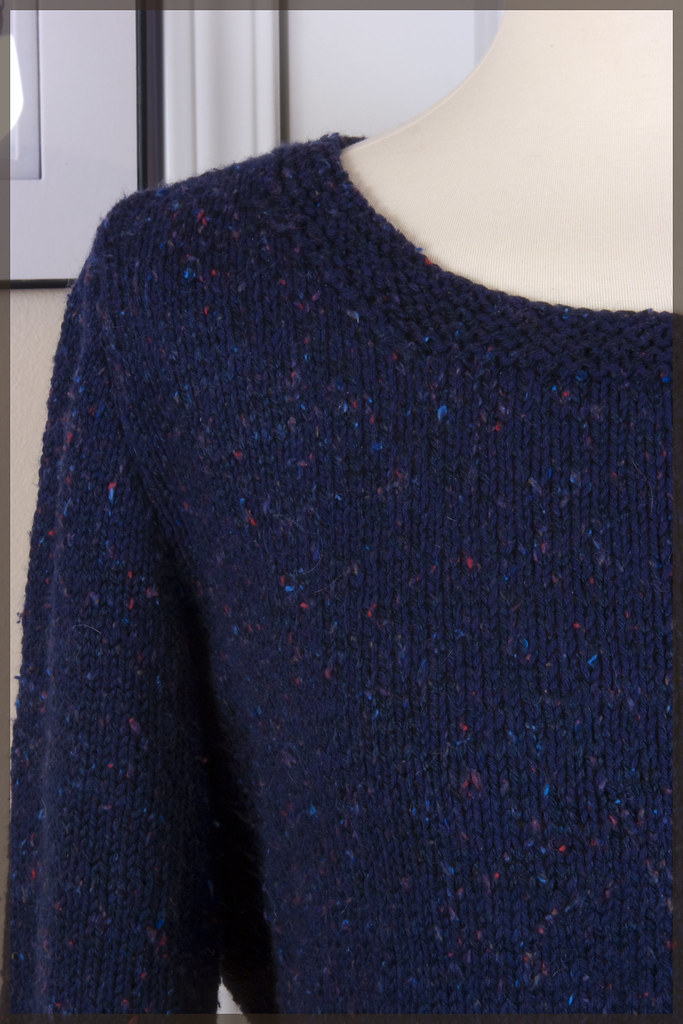
The shaping of the cap sleeve was done with short rows instead of casting off so that prevented "stairsteps" in the cap sleeve rise,

I love the garter edges. Beautiful!

What I learned from this:

  • if the sweater feels like it is too short, keep knitting before you start the bust shaping. Although it looks fine on the dress model, I made this too short.
  • don't waste your time with crappy yarn. Just don't. This cotton/acrylic pills and pills.
  • I would add more short rows in the bust area, and upper back too. Try Cat Bordhi's You tube video on how to hide wraps, brilliant!

This was a fun knit, and I'd do another with the above mods.

Scarves - Early Handspun and Alpaca Rescued

Early Hand dyed, Handspun, and Navajo-plied
I kettle dyed the merino roving with russet and blue dye. The yarn makes a space-dyed, sort-of striping pattern. I am knitting a double moss stitch scarf with the yarn, It is a very smooth yarn and almost feels like cotton. It is light and springy, but has the wonderful properties of wool. The scarf is nice and flat. For this scarf, I used a US 4 needle. Finished off the edges with a single crochet edge (to help compensate for less than perfectly consistent yarn.)


How to knit the scarf (updated 29 Dec 2007):
Cast on a multple of 4+2. First and last stitches will be edge stitches. (I usually use a longtail cast on.)

Row 1: Slip 1 edge stitch knitwise, K2, P2 across, K last stitch.
Row 2: Slip 1 edge stitch purlwise, K2, P2 across, P last stitch.

Row 3: Slip 1 edge stitch knitwise, P2, K2 across, K last stitch.
Row 4: Slip 1 edge stitch purlwise, P2, K2 across, P last stitch.

Repeat rows 1-4 until length you want it.

Cast off: I prefer an EZ sewn cast off.


Ahhhh, much better. Color Revisited.
This very labor intensive scarf (alpaca yarn I hand warped, hand dyed, then knit - but gawd-awful color).

Scarf info:
Palindrome scarf. Very cool, free pattern. This reversible scarf knit up very fast. Be forewarned, this reversible cable pulls in A LOT. So, use bigger-than-called-for needles so the scarf is not too heavy. I did not! Combined with the fact that it's alpaca and heavy, this will be a scarf for only very cold weather, as it is VERY warm!

The self striping yarn was my first test of creating self striping yarn (see how to instructions here.) When I made the yarn, the colors were clear, but there was too much value difference for my taste between the yellow and the blues, so I overdyed it with grey, which gave it a very muddy look. Yeach.

Red comes to the rescue!


After a dunk and soak and cook in red:


Thank goodness for the miracle of Jacquard acid dyes!

09 December 2007

Hat Weather

Hat! [click for bigger]


Hat Info
Stats on Ravelry (click to open, must be a member of Ravelry)
 

This is a hat that I cast on to simply play with the unspun yarn and see what happens when you do a short row hat with unspun Icelandic wool. The brown wool is three strands of unspun wool wrapped in a wool cake. The cream wool is two strands of unspun wool. The wool has no spin in it and pulls apart quite easily.

The end result is a nice firm hat that is the knit stitch only, knit "flat".

I cast on 35 stitches, using a needle smaller than what I thought the wool called for (US 9) so that the hat would be firm. At each row, I knitted one less stitch, wrapping and turning until 16 stitches were "short". I then knit all stitches on the needle with the cream colored yarn, and then one more row knit with the cream. And started all over again.

When I finished it, I knit the two rows in cream and cast off in cream. The hat was longer than my head, so I got a brim!

Then I seamed up the hat. The seam was so bulky that I decided to hide it with embroidery and wear the seam in the back. I liked the end result so much that it is now the front.

What would I do differently next time?

  • Make the cast on a crochet provisional cast on
  • Final cream garter row would woven/grafted for a seamless finish.

For a protoype, I'm pleased!            

08 December 2007

Happy Holidaze! A gift for you

 
For You: A Dec 2007-Nov 2008 Knit Calendar
(Why no Dec 2008 image? To keep you coming back!)

          Thumbnails of the images:


          Download the files and print yourself, or order prints from Flickr. (You have to sign in to Flickr to order prints. A Flickr account is free.)

          These images are high resolution and optimized for a 4x6 inch desktop calendar, and are all my original images.Order all 12 in 4x6 size, add a 4x6 frame that sits on your desk, and there you have it! Enjoy.


PS: Please do not sell or reproduce these images other than for personal use. Thanks!


About Me

My photo
I'm Charisa on Ravelry.

Follow PULSH on Facebook

P U L S H © 2008. Template by Dicas Blogger.

TOPO