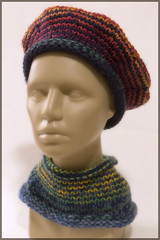
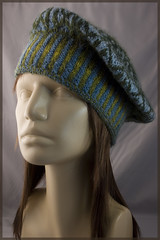
Wherein I provide you with a guided tour to taking your knitting into your own hands and knitting hats that always fit.
Click to download the PDF version of this article.
Not a pattern, but a lifestyle
Inspired by Susan Pierce Lawrence’s Live Dangerously, Don't Swatch[i] method of hat-making. Building on Susan’s theme and some basic rules, you can create any type of hat you can think up.

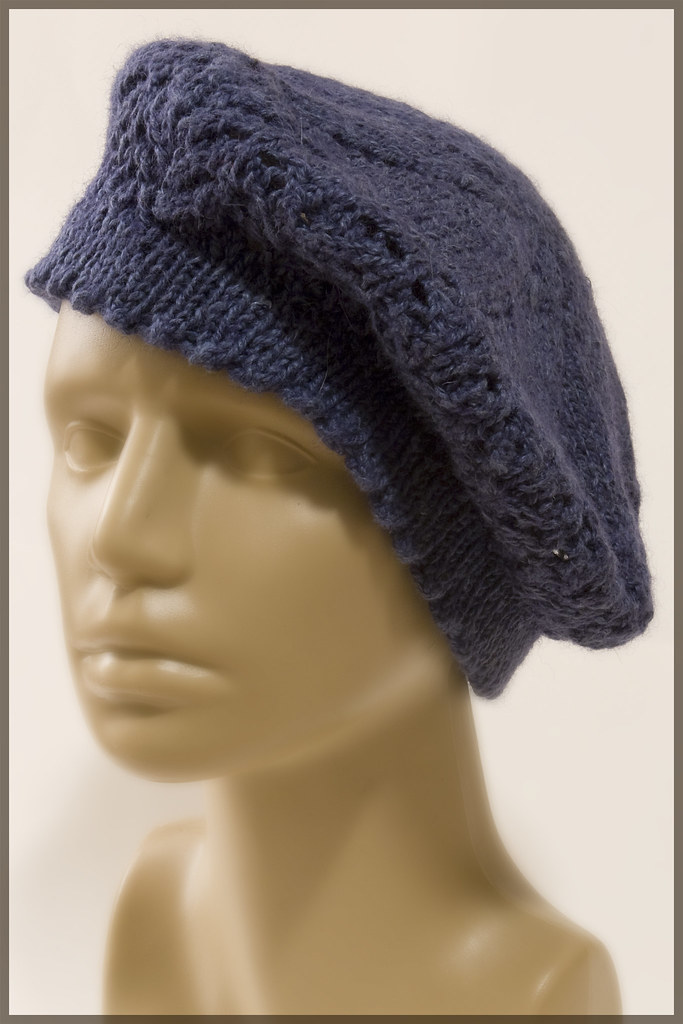
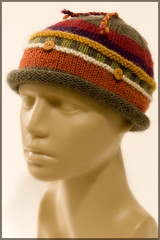
Let me walk you through the Manos Beret (photo, above):
1. Cast on 8 stitches using Emily Ocker's cast on. You will be knitting in the round with two circular needles. The sample is knit with Manos del Uruguay wool.
2. Increase 8 stitches every other row until the circle is slightly bigger than the top of the head you are knitting for, by about 3-4". (Place markers at the increases, use the type of increase desired: K2 in one stitch, YO, etc)
3. Continue knitting, no increases for about 2-2.5".
4. Next row: decrease by 10% by *K 8, K2tog* all the way around. Note, if you knit a bigger circle, say, one that is 4" bigger than the head, you might need to perform more decreases than just 10%. The goal of this decrease row is to make the opening about your head size – try on as you go.
5. The band was knit in K1P1 ribbing until it was double the length you want.
6. Cast off loosely, then fold the band in half and sew to inside of hat.
Using this no-swatch, top-down method, you can knit any hat, any size, any stitch pattern. Play!
Want it floppy, knit it big! Want a skull cap? Knit is 5-10% smaller than the head it is intended for. The possibilities are almost infinite. Hats take from 100-250 yards of yarn (bulky yarn requires less yardage than fine yarn.) The type of hat you end up with can be decided based on the yarn, the head you are knitting it for or both. Use the needle size that is appropriate for the yarn you have chosen.
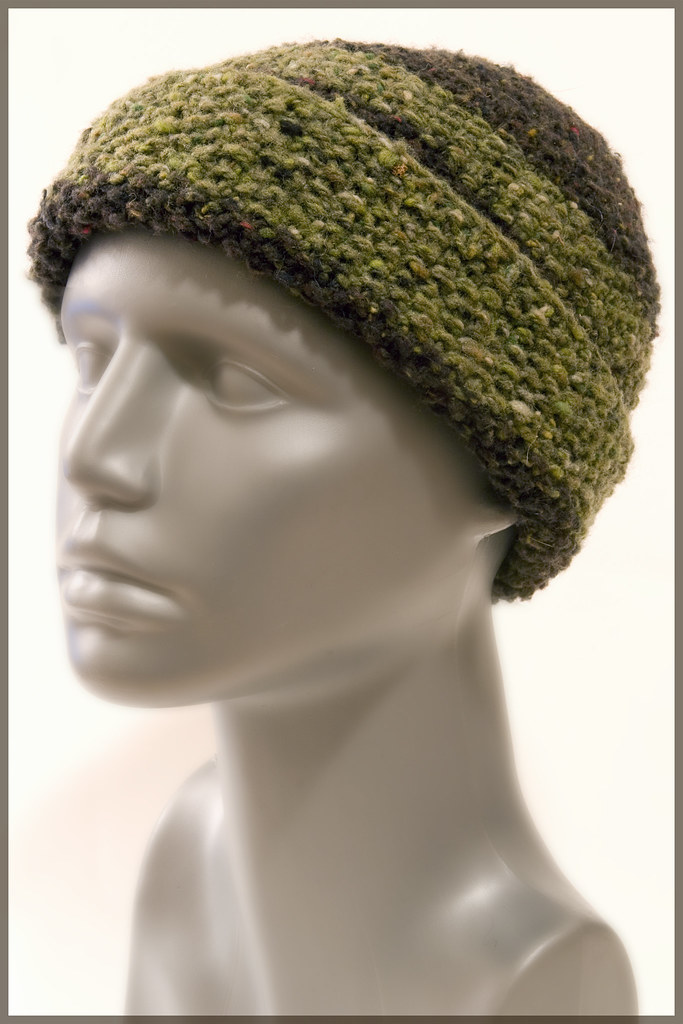
For a beanie, start with 8 stitches, increase every other row, and stop increasing when your circle is about 5-10% less than the measurement of the head. Then knit in pattern and/or ribbing until the hat fits. Loosely cast off.
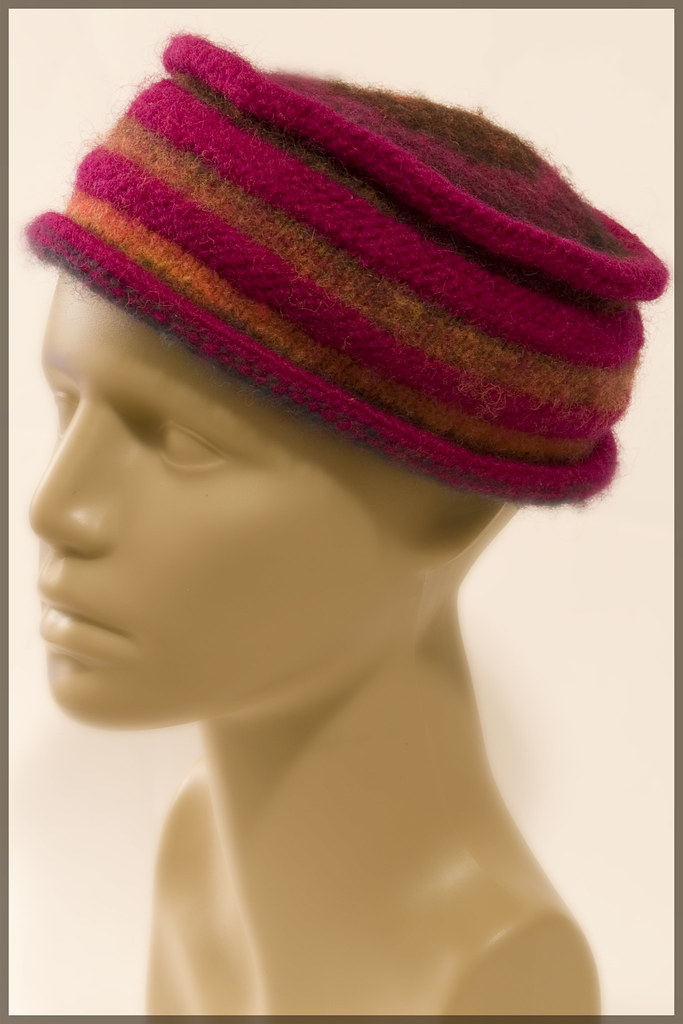
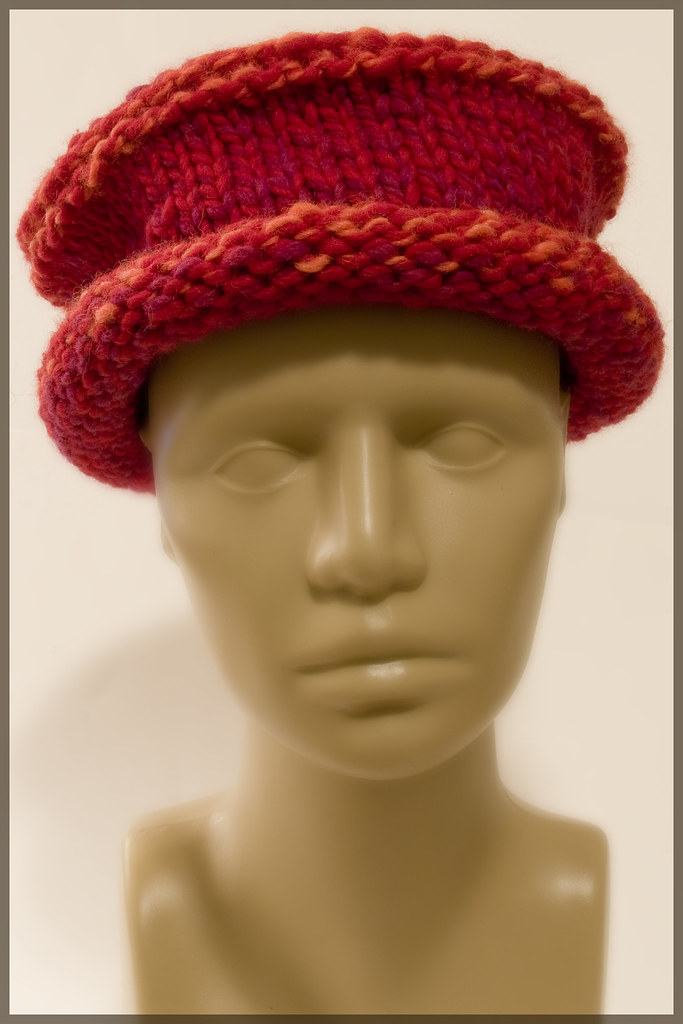
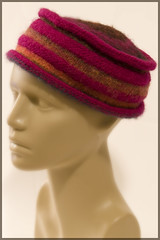
For a pillbox, start with 8 stitches, increase every other row, and stop increasing when your circle is the measurement of the head. Knit in your chosen pattern until the hat fits (is the right length). Add a turn back brim if desired in another pattern or just extend the length in pattern, loosely cast off and fold back.
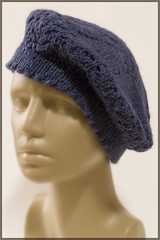
For a beret, start with 8 stitches, increase every other row, and stop increasing when your circle is the same size as a large plate (bigger than your head measurement). Knit without decreasing for several inches (3-6 inches, more will make a billowy beret), then decrease as I mention in the Manos beret walk-through. Knit a ribbing (K1P1/ or K2/P2, or a garter band which, in the round is K1 row, P1 row), loosely cast off and fold back.
You will knit your hats with confidence because they will fit! Look around you and try on hats. Pull out your pocket measuring tape to jot down the dimensions. Replicate at home!
Hats I've made - as you can see, my head prefers the pillbox shape so there's more of 'em.
Click a photo below for big.
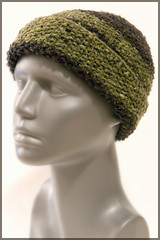
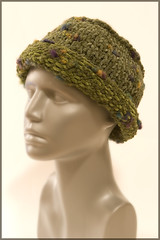
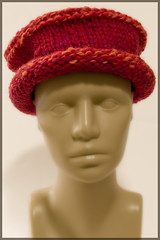
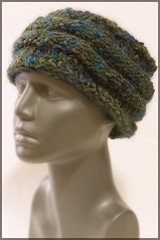
[i] Susan Pierce Lawrence wrote up directions for how to knit a hat from the top down without a swatch. You can scroll to the bottom of the page in this link or you can purchase the directions here for$3 USD. I prefer her directions that were given online - because she talks about doing a slightly pointed top with a 6-stitch cast-on, or a flat top with an 8-stitch cast-on in her archived blog entry. The purchased pattern only refers to the 8 stitch cast on, and doesn't refer to the Ocker cast on, which is invaluable when creating a circle.