Buildling on a theme, I've knit up a couple more of the two-skein-two-color scarves. Click an image to see big.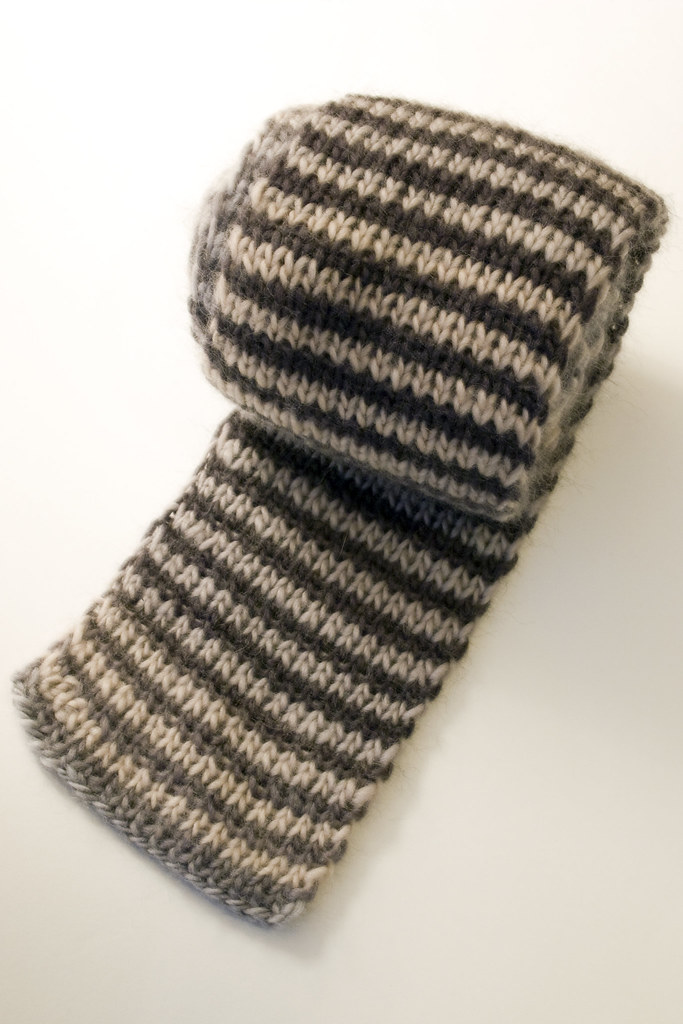
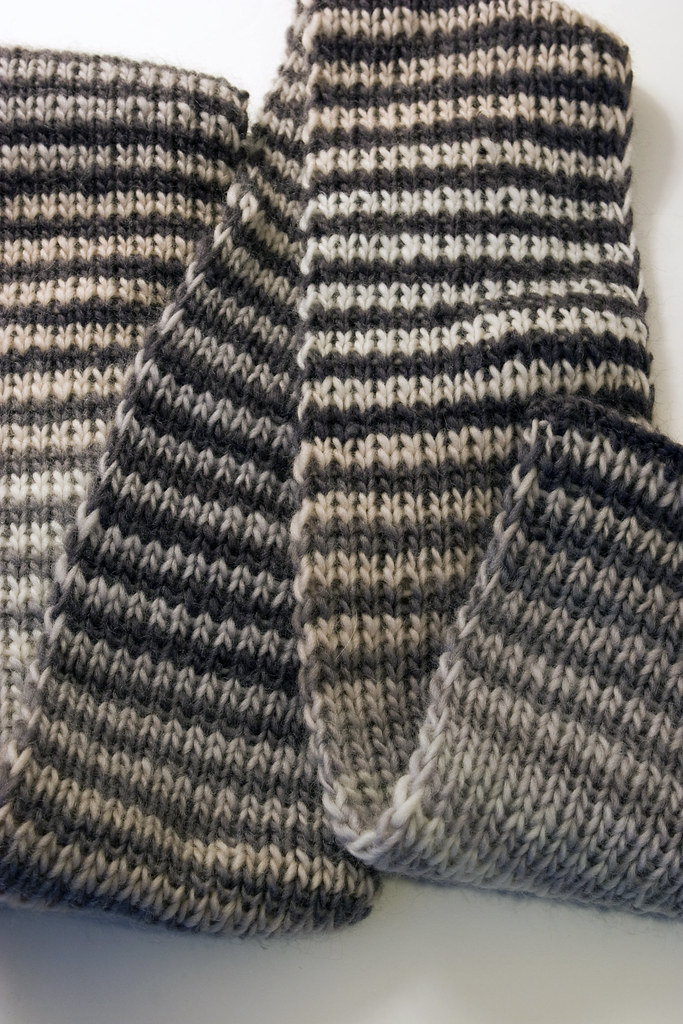
Although it is still Fall, it looks and feels like Winter today. Especially as I battle an awful cold.
04 November 2007
More Two Color Scarves


03 November 2007
Gully Wash Socks (free pattern)
Toe-up socks that form rivulets on your feet
Designed by: Charisa Martin Cairn | October 2007
note: if you downloaded the pattern prior to 14 Nov 2007, please re-download.
I caught an error, and it has been corrected.
Click here to download the free sock pattern.
Designed by: Charisa Martin Cairn | October 2007
note: if you downloaded the pattern prior to 14 Nov 2007, please re-download.
I caught an error, and it has been corrected.
Click here to download the free sock pattern.

Overview
Please refer to the "Lifestyle Toe Up Socks", a tour guide for building socks that always fit.
Yarn: Blue Moon Fiber Arts
Socks That Rock, Lightweight, 360 yards
Needles/Method: Size 1, US
Using 2 circular needles, socks knit in the round
Gauge: Depends, but about 8-10 stitches to the inch
What you know or will learn using this pattern:
- A magical cast on
- Making cables without a cable needle
- Knitting socks that fit
- An easier short row heel
- A stretchy bind-off that will always wear comfortably
--------------------------------------------------------------------------------
Why Gully wash? Experimenting with cables and this wonderful yarn, the cabling looked just like water rushing through gullies in the streams around where I grew up in the Texas hill country. The colorway that I used only reinforced the visual by being the color of the washed gully.
24 October 2007
How to Knit a Welt, a Ridge, a Pintuck: Texture!
Welt, Ridge, Pintuck: How To
A knitted welt adds texture and definition to your knitting. You can do it small, you can do it large. It's easy. Here's how to do it. Click a photo to see it bigger.
[download the Wedge Hat pattern, and get this tutorial in the pattern.]
1. Decide what your texture will be: garter ridge, stockinette, etc.The edge ridge in the Wedge hat is garter stitch.
2. Knit 4 or more rows in your desired ridge pattern. Make the last row of the ridge pattern a wrong side row.
Example here is knit in garter stitch. This technique is very easy if you make the ridge a contrasting color.
photo (a): knit the ridge fabric
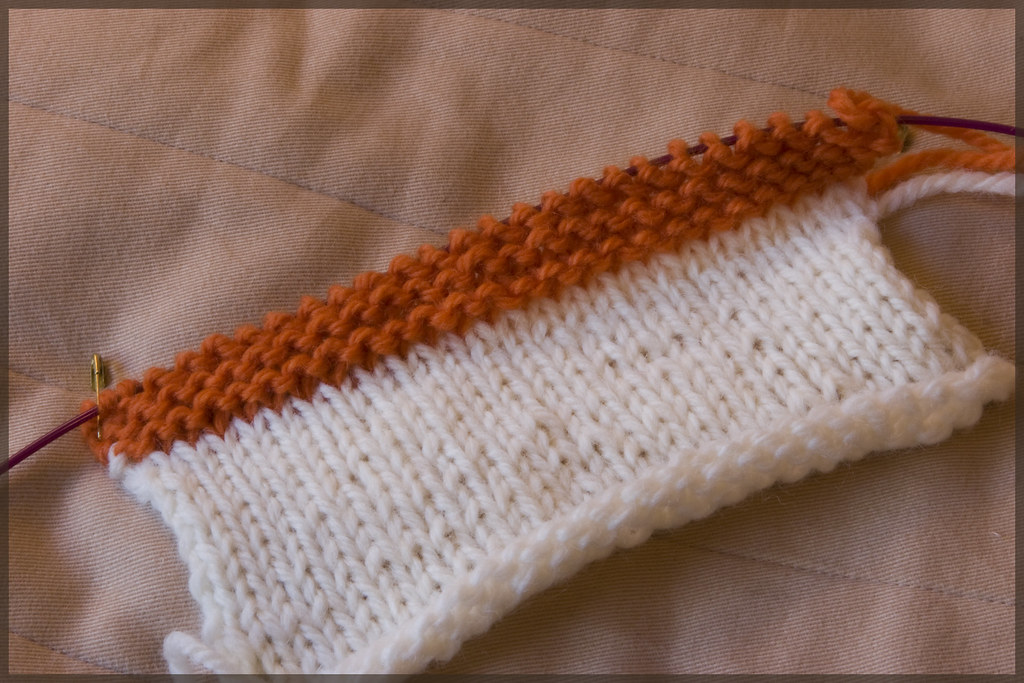
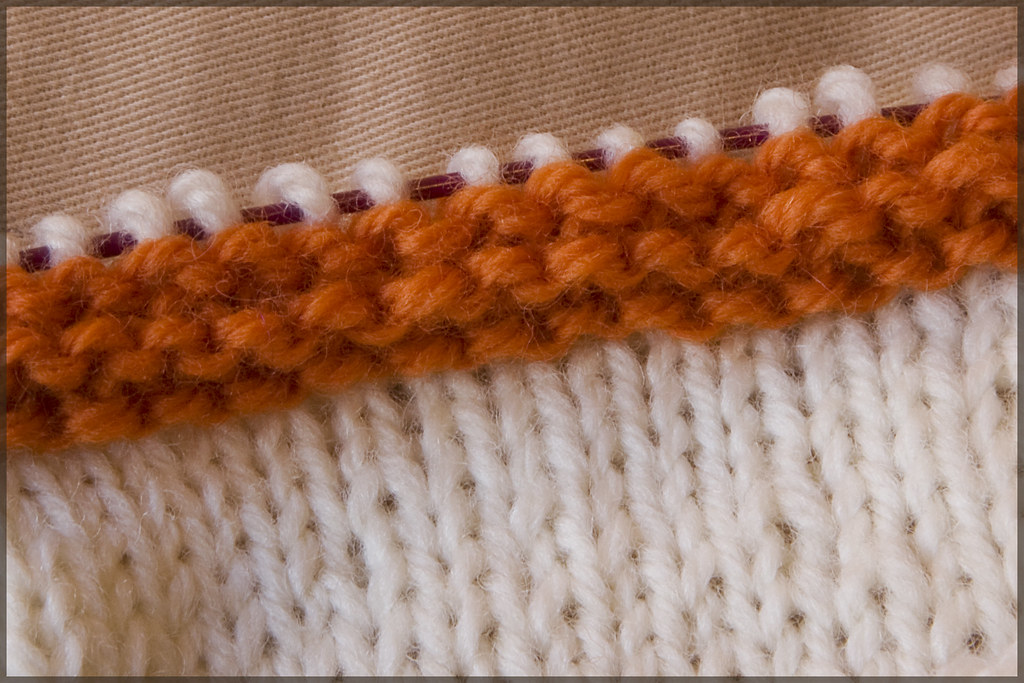
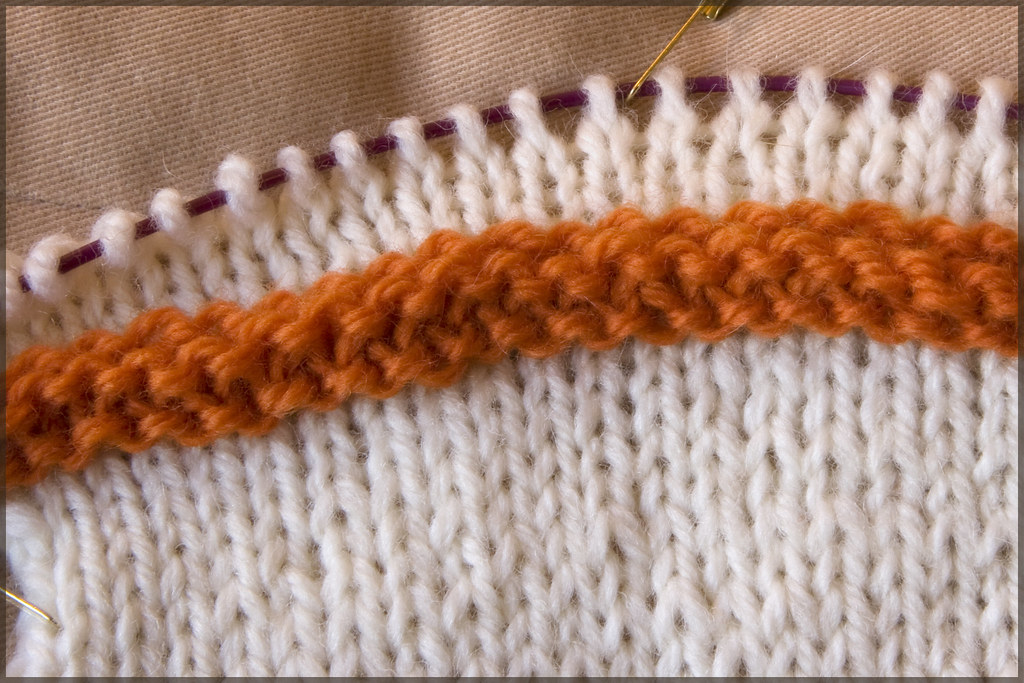
2. When ridge fabric is size desired, use a second knitting needle (one size smaller than the one you knit it with) to pick up the stitches at the start of the welt, a few rows back. You are picking up the purl bumps of the non-ridge fabric. The total number of picked up stitches should equal the number of live stitches in the welt (orange stitch count should be the same as the white stitch count).
photo (b): pick up stitches from the original fabric (not the ridge fabric)
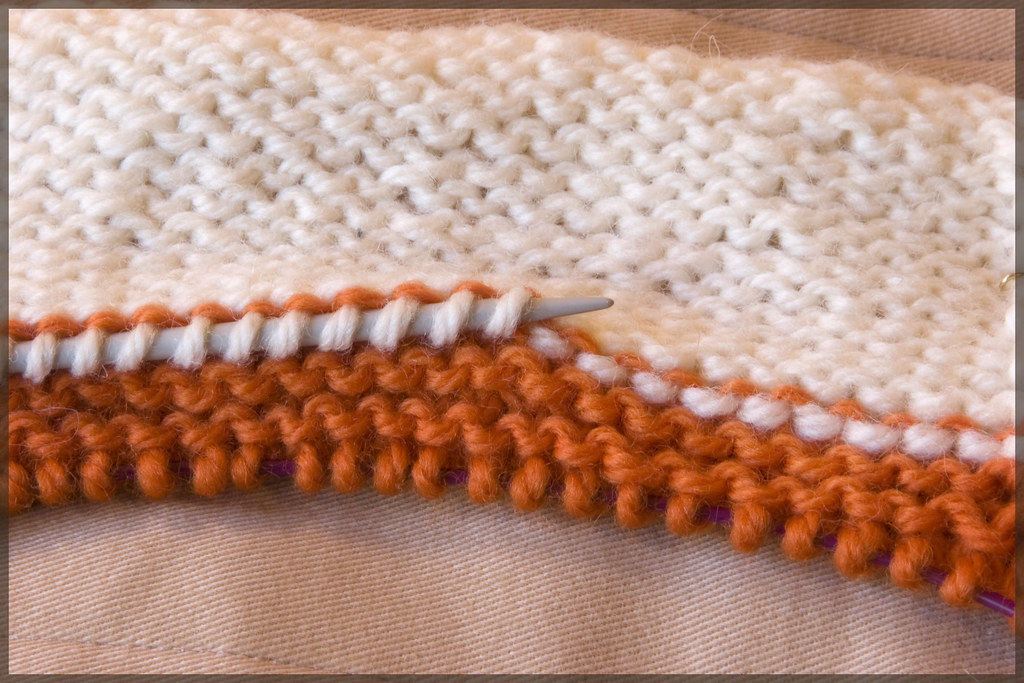
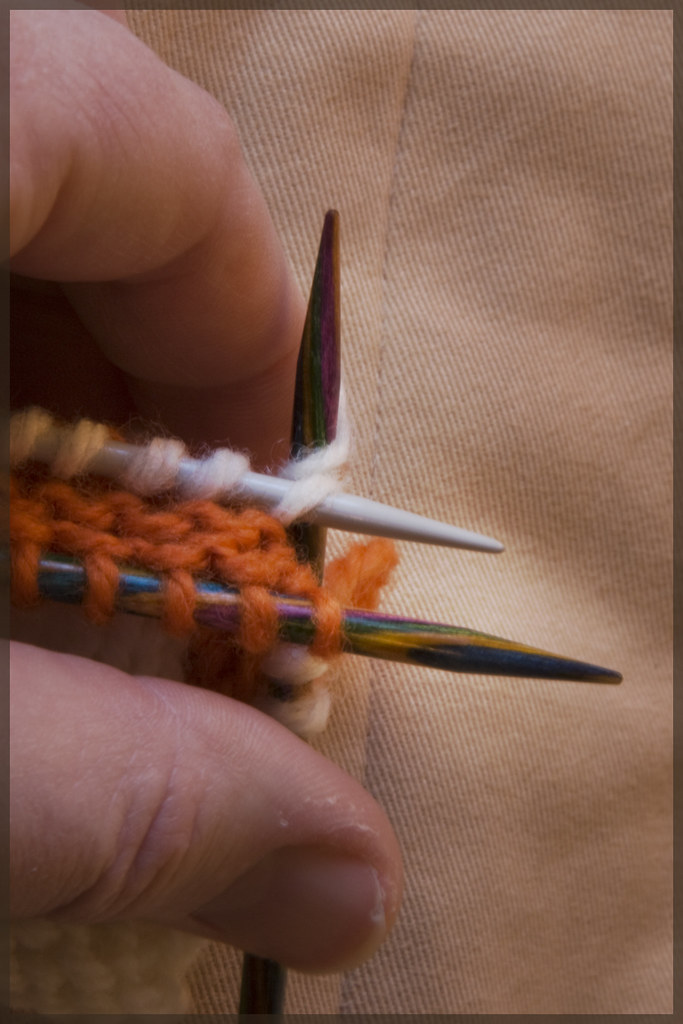
3. Knit a row, knitting two together for each stitch: one stitch from the live row on your needle, and one stitch from the picked up stitches. Note: the picked up stitches are oriented differently than the live (orange) stitches. To orient them correctly, knit through the back loop.
photo (c): knit the welt closed - knit two stitches together.
photo (d): after the welt is closed - live stitches are once again the original yarn (white, wrong side view)
4. Knit on, you have a welt, a ridge, a pintuck in your knitted fabric!
photo (e): finished welt after knitting it closed, front of fabric
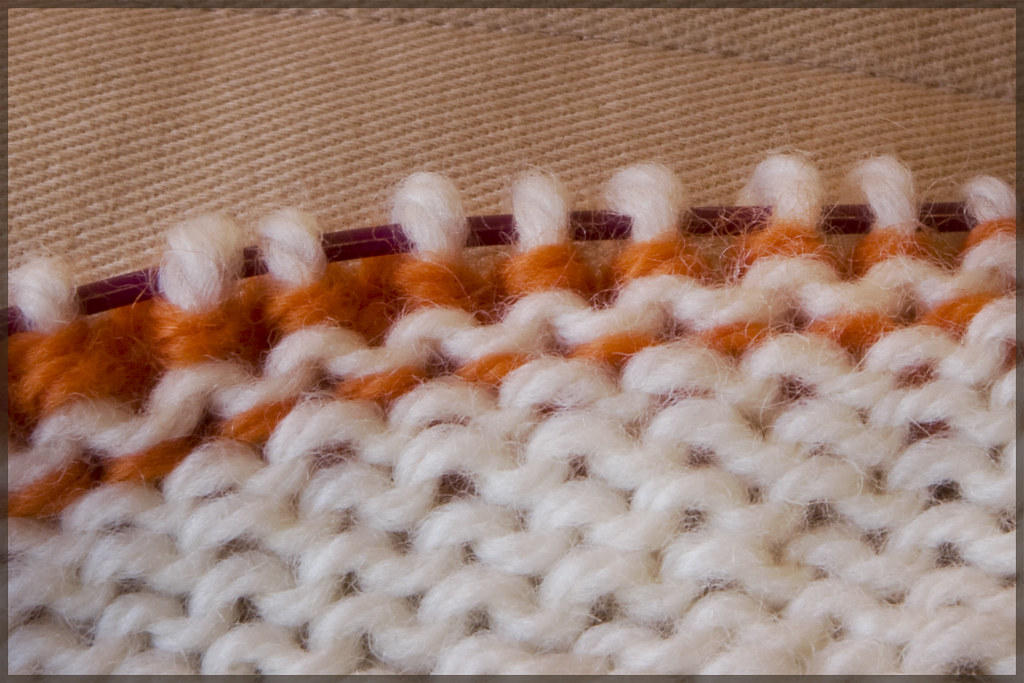
You've knit a ridge, a welt, a pintuck!
23 September 2007
Wedge Hat for Fall


Click to download this pattern as a printable PDF file
The stats:
Started: 17 Sept
Finished: 19 Sept
Yarn: Zitron Turmalin, 2 skeins, colorways: [300 3475] & [340 3669]
Pattern: No Swatch Method of Hatmaking, knit top down
- Increased 8 stitches, every other row
- When circle was big enough, worked a 2 rows of garter (K1 row, P1 row) then picked up each stitch two rows back on the inside/back side, and continued knitting (this makes a gater welt on the external side of hat)
- Decreased using SKPSSO (slip 1, knit one, pass the slipped stitch over the knit stitch.) I wanted a wedge shape, so I decreased 10% (K8, skpsso) about every other row until the diameter fit my head.
Note: I tried lots of decreases, looking fo the most subtle to use, and placed the decreases randomly. However, with a bulky yarn, it is pretty hard to hide a decrease. The only thing I would change is to decrease consistently rather than randomly (K8, skpsso at each decrease row ). Note! Since I made this hat, I saw Cat Bordi's video on You Tube about how to neaten decreases -- looks like I could have made them look neater by knitting SSK in the decrease row, then knitting in the back of the stitich in the next round above the decrease. See Cat's video tutorial here.(she shows this in the last minute of the video).
- The edge was about 4 rows of garter (in the round: K1 row, P1 row), then bound-off with EZ's sewn bind off. (This garter edge is folded back when the hat is worn.)
- I finshed the hat a touch snug (you can try on as you go) - because I knew that blocking the hat would relax it some. It did.
Subtle Striping, Sometimes
Inspired by Brooklyn Tweed's 2-color scarf using two beautiful yarns. Designed on-the-fly from the top down, using the technique of alternating every row with yarn 1, then yarn 2.
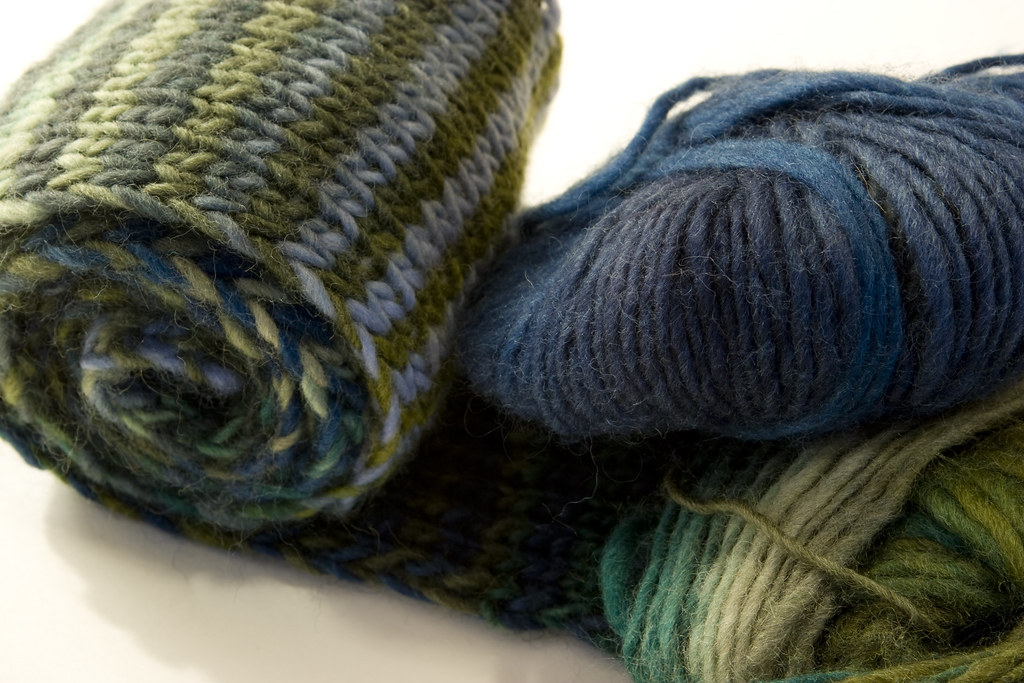
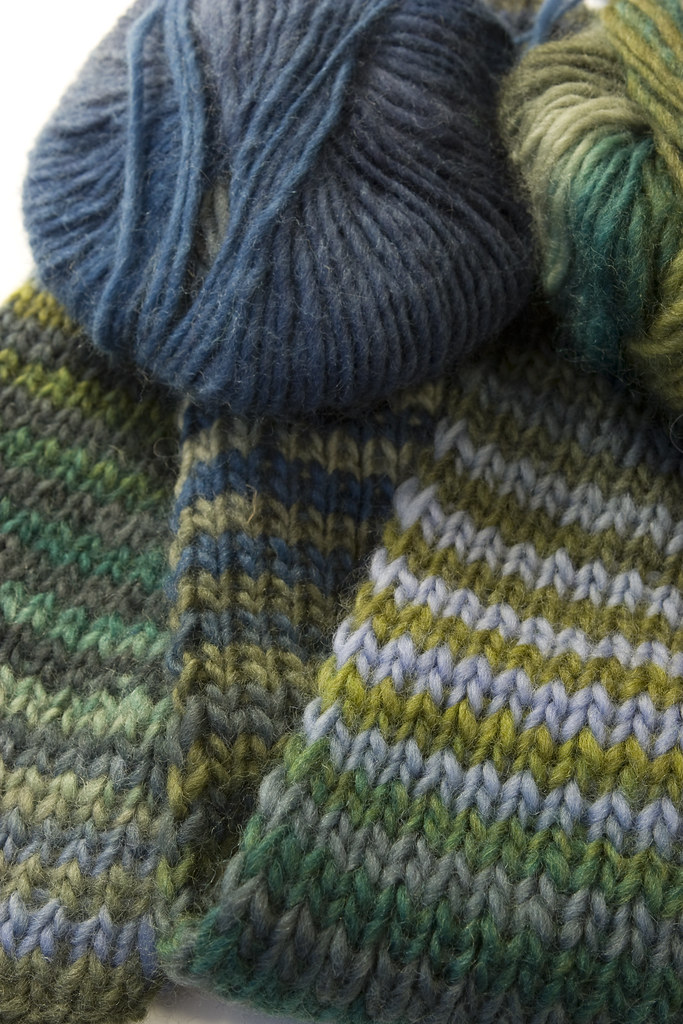
I purchased the yarn while on holiday (you always do that, don't you? Buy yarn and needles on holiday?) It is a slightly-felted pencil roving. I wanted a firm fabric, so I knit it on size 10 (US) needles rather than the recommended 15 (US). See my previous blog entry to view the yarn.
Note on the needles - I bought Bryson flexible circular needles and I'm enjoying knitting with them, and I am a dyed-in-the-wool lover of Addi Turbos!
I used the no-swatch method of hat making (you design as-you-go and the hat always fits).
The two important design elements to make the hat work in the wedge shape: firm fabric, and decreases from the top of the hat to the brim.
A final note, this is expensive (!!) yarn, running at $22 USD per skein. I didn't want to waste one bit, so I knit a dickie to go with the hat and ended up with about 2 yards of yarn left!
Both hat and dickie are knit in the round, using two circular needles instead of dpns.
Update: Warm colorway using a bulky yarn "Loft" by Zitron. It was about half the diameter yarn as the original hat. I knit the hat brim a bit deeper - as the yarn seemed to need it. The beauty of knitting from the top down - make it work for the yarn you are using!

19 September 2007
Signs of Fall


Subscribe to:
Posts (Atom)


